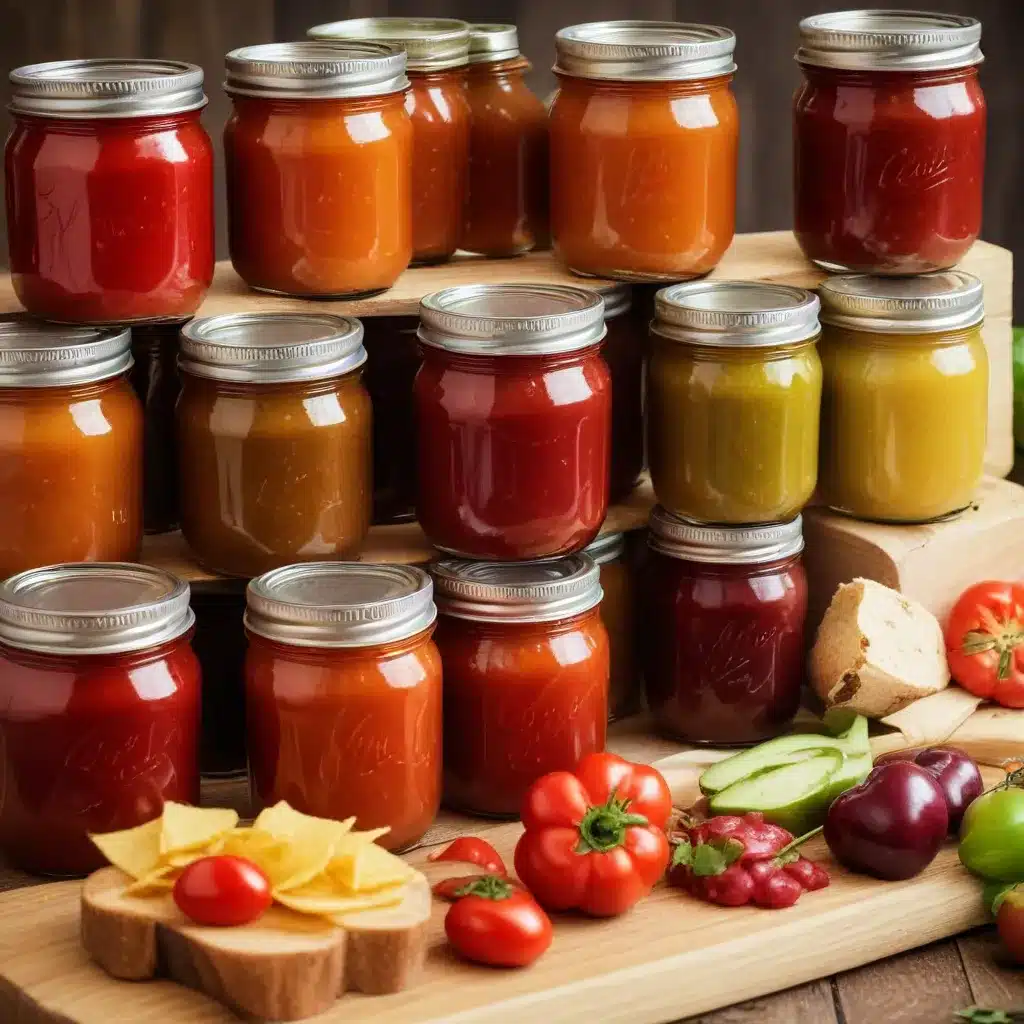
As the cool nights of autumn settle in, the gardening season is gradually winding down at Crooked Pines Farm. But our work is far from over – in fact, this is the busiest time of the year for preserving the abundance of summer’s bounty. From juicy tomatoes and crisp peppers to sweet berries and tart stone fruit, we have a bountiful harvest that we’re eager to enjoy all year round.
Canning, one of the oldest and most reliable food preservation methods, allows us to capture the peak flavors of the season and tuck them away for the long winter ahead. Whether you have a thriving vegetable garden, a few fruit trees, or simply love exploring the local farmer’s market, canning is a wonderfully rewarding skill that the whole family can get involved in.
The Basics of Canning
At its core, canning is all about creating an airtight seal that excludes air and microorganisms, preventing spoilage. This can be achieved through either a boiling water bath or a pressure canner, depending on the acidity level of the food. High-acid foods like tomatoes, salsa, jams, and pickles can be safely processed in a boiling water bath, while low-acid foods like vegetables and meats require the intense heat and pressure of a pressure canner.
The key to successful canning is precision – following trusted recipes, adhering to proper processing times, and ensuring a tight, secure seal on each jar. It may seem daunting at first, but with a little practice, canning becomes a rewarding and almost meditative process.
Equipment and Supplies
While you don’t need a fully decked-out canning kitchen to get started, there are a few essential tools that will make the process much easier:
- Canning jars – These sturdy, tempered glass jars come in various sizes and are designed to withstand the high temperatures of the canning process.
- Canning lids and rings – The two-piece lids create the airtight seal when processed.
- Canning or stock pot – A large, deep pot that can accommodate your jars and water for either a boiling water bath or pressure canning.
- Jar lifter – A specialized tool for safely removing hot jars from the canner.
- Funnel – Makes filling jars neatly a breeze.
- Headspace measurer – Ensures you leave the proper amount of space at the top of each jar.
Once you have your equipment ready, it’s time to start preserving! Let’s dive into two of the most popular home-canned staples: salsa and jam.
Salsa: Capturing the Essence of Summer
Salsa is a fantastic canvas for showcasing the vibrant flavors of late summer. At Crooked Pines Farm, we love experimenting with different ingredient combinations – from classic tomato-based salsas to more unique varieties featuring seasonal produce like peaches, mangos, or tomatillos.
Ingredient Selection
When selecting ingredients for your salsa, focus on using the freshest, ripest produce you can find. Locally-grown tomatoes, peppers, onions, garlic, and herbs will provide the most authentic, garden-fresh flavor. Many canning recipes also call for the addition of vinegar or lemon/lime juice to ensure proper acidity for safe canning.
Salsa Recipes
One of our favorite salsa recipes combines roasted tomatoes, bell peppers, jalapeños, onions, garlic, cilantro, lime juice, and a hint of ground cumin. The charred, caramelized notes from the roasting process create a wonderfully complex, restaurant-style salsa.
For a zestier kick, try a Fiery Roasted Salsa made with a mix of hot peppers like habaneros and serranos alongside the classic salsa ingredients. Just be sure to adjust the pepper amounts to your personal spice tolerance.
Canning Salsa
Once you’ve perfected your salsa recipe, it’s time to can it for long-term storage. Begin by ladling the hot salsa into sterilized canning jars, leaving 1/2-inch of headspace. Wipe the rims clean, apply the lids and rings, and process the jars in a boiling water bath for the recommended time (typically 15-20 minutes).
The heat and acidity of the canning process helps ensure a safe, shelf-stable product. Properly sealed jars can be stored in a cool, dark place for up to 12-18 months. And of course, you can’t beat the satisfaction of cracking open a jar of your own homemade salsa in the depths of winter!
Jam Making: Preserving Fruit’s Sweetness
Nothing captures the essence of summer quite like a spoonful of vibrant, fruity jam. At Crooked Pines Farm, we take great pride in our jam-making prowess, transforming the bounty of our berry patches and orchard into jars of deliciousness.
Fruit Preparation
Proper fruit preparation is key to creating high-quality jams and preserves. We carefully wash, stem, pit, and chop our berries, stone fruits, and pome fruits to prepare them for cooking. Some recipes may call for mashing or pureeing the fruit, while others prefer to leave it in larger chunks.
Jam Recipes
Our signature raspberry jam features just three simple ingredients: raspberries, sugar, and lemon juice. The tart sweetness of the berries is beautifully balanced by the sugar, while the lemon juice helps create that perfect jammy consistency. For a seasonal twist, we’ve also experimented with raspberry-peach and raspberry-lavender combinations.
Blueberry jam is another family favorite, made from the abundant crop in our u-pick patch. We love its deep indigo color and concentrated fruit flavor. Paired with warm buttermilk biscuits or swirled into plain yogurt, it’s a true taste of summer.
Canning Jam
Once our jams have reached the desired set, we carefully ladle them into hot, sterilized jars, leaving 1/4-inch of headspace. After applying the lids and rings, the jars go for a gentle 10-minute spin in the boiling water bath. This crucial step ensures a tight seal and a shelf-stable product.
Storage and Shelf-Life
Proper storage is key to extending the shelf-life of your home-canned goods. After processing, allow jars to cool completely on the counter. Check that each lid has fully sealed (the center should be depressed and won’t flex when pressed). Any unsealed jars should be refrigerated and consumed within a week or two.
Sealed jars can be stored in a cool, dark place like a pantry for 12-18 months. Be sure to label each jar with the contents and the date it was canned. When ready to enjoy, a quick wipe of the lid and a gentle twist is all it takes to open up a taste of summer.
While canning may seem intimidating at first, it’s a wonderfully rewarding skill that allows you to savor the peak flavors of the season all year round. Whether you’re preserving a bumper crop of tomatoes or capturing the essence of fresh berries, the joy of cracking open a homemade jar of salsa or jam in the middle of winter is unmatched. So get canning, Crooked Pines farmers – the harvest is waiting!


